Decades later and I’ve just completed a basic cake decorating class. There have been a few projects that have stalled over the years because I can never make that darn icing do what I want. I finally gave up trying to teach myself and signed up for the Wilton beginner class. Now I know that the leaf tip I’ve been trying to use was more than half my problem. So I thought I’d try the sugar eggs again. Maybe this time someone other than the trash guys will see them:-)
The sugar mixture I used I found on the internet, afraid I don’t remember where. It’s One egg white, 3.5 cups of granulated sugar and 1/2 cup of powdered sugar. Beat the egg white really good then add the sugars and mix well. It’ll be like wet sand. I tried food color for a yellow, then switched to the gel colors. I packed in my sugar mixture good and tight, leveled it off with the back of a table knife and turned the egg halves out onto a foil lined cookie sheet to dry for a bit. When I went to scoop out the insides I discovered that the eggs had dried from the outside in, leaving a soft center which was easily removed. I used my metal measuring spoon to take out all the soft sugar and when it started scraping on the inside I knew I was done. SOOOOO much easier than in high humidity!

For curiosity’s sake I noted the drying time before scooping out the insides. You can see in the picture that waiting just one hour gives you a pretty thin shell. As the day wore on and got warmer a one hour drying time resulted in a thicker shell anyway. So temperature & humidity levels make a big difference!
The mold I used was intended to have a flat side for the completed egg to sit on. I wanted a vertical egg so I carved out a view hole using the flat part as a guide. Turns out that if you put one drop of water where you want the hole to be it will eat away at and soften the sugar. I scraped at it with a serrated paring knife until I got all the way through, then just kept scraping at the edges of the hole to enlarge and shape it. The trick is to scrape off a little at a time or you risk cracking the shell.
I’m not all that great at icing yet, but there are all kinds of pre-made royal icing decorations out there. There was this great bunny at Michael’s but apparently I waited too long to grab them - all gone by the time I went back. I did find some alternatives though and I think they’re pretty cute too.
I made up a batch of royal icing using the Wilton recipe, which is so simple I’ll just repeat it here: One 1lb box of powdered sugar, 3 tablespoons of meringue powder and 5 tablespoons of water (6 if you are using a hand mixer). I literally dumped the ingredients into my stand mixer, attached the whisk beater thing and let it run at high for 7 minutes. Of course, I did start off slow so I wouldn’t spray powdered sugar all over the kitchen... The icing got bigger, thicker and much whiter by the end of the 7 minutes. I scooped out about a cup and tinted it green and put the rest in an air tight container for now. I did have to thin my green icing a bit, added about 1/2 teaspoon of water. I loaded it all into a bag fitted with what I call the “grass” tip. It’s number 233. Just so you know, I love royal icing from a clean up stand point. Buttercream is most definitely not fun to clean out of tips or bags but royal icing pretty much just dissolves away. “Class” buttercream is made entirely with crisco and tastes icky anyway (sorry Wilton). I’m going to eventually try making buttercream frosting with actual butter to see if that helps the taste. So anyway, the only drawback to royal icing I can see is that it dries in the tip super quickly. Turns out even more quickly in the grass tip because of all the small holes. I ended up putting the tip under running water to clear it after every egg half.

First thing I did was pipe a bunch of grass in the back half of the egg. Then a kind of mound in the middle to set my little pre-made nest in. The pre-made bunny sits just behind the nest and is held in place by the grass in the back. Then on the front half I put more grass so when you look inside it doesn’t all just cut off.


I tried a few different designs for the opening and this was the one I liked best. The shell border looked pretty too, but I’m not good enough yet. Repeat the design around the seam to cover up the raw edges.
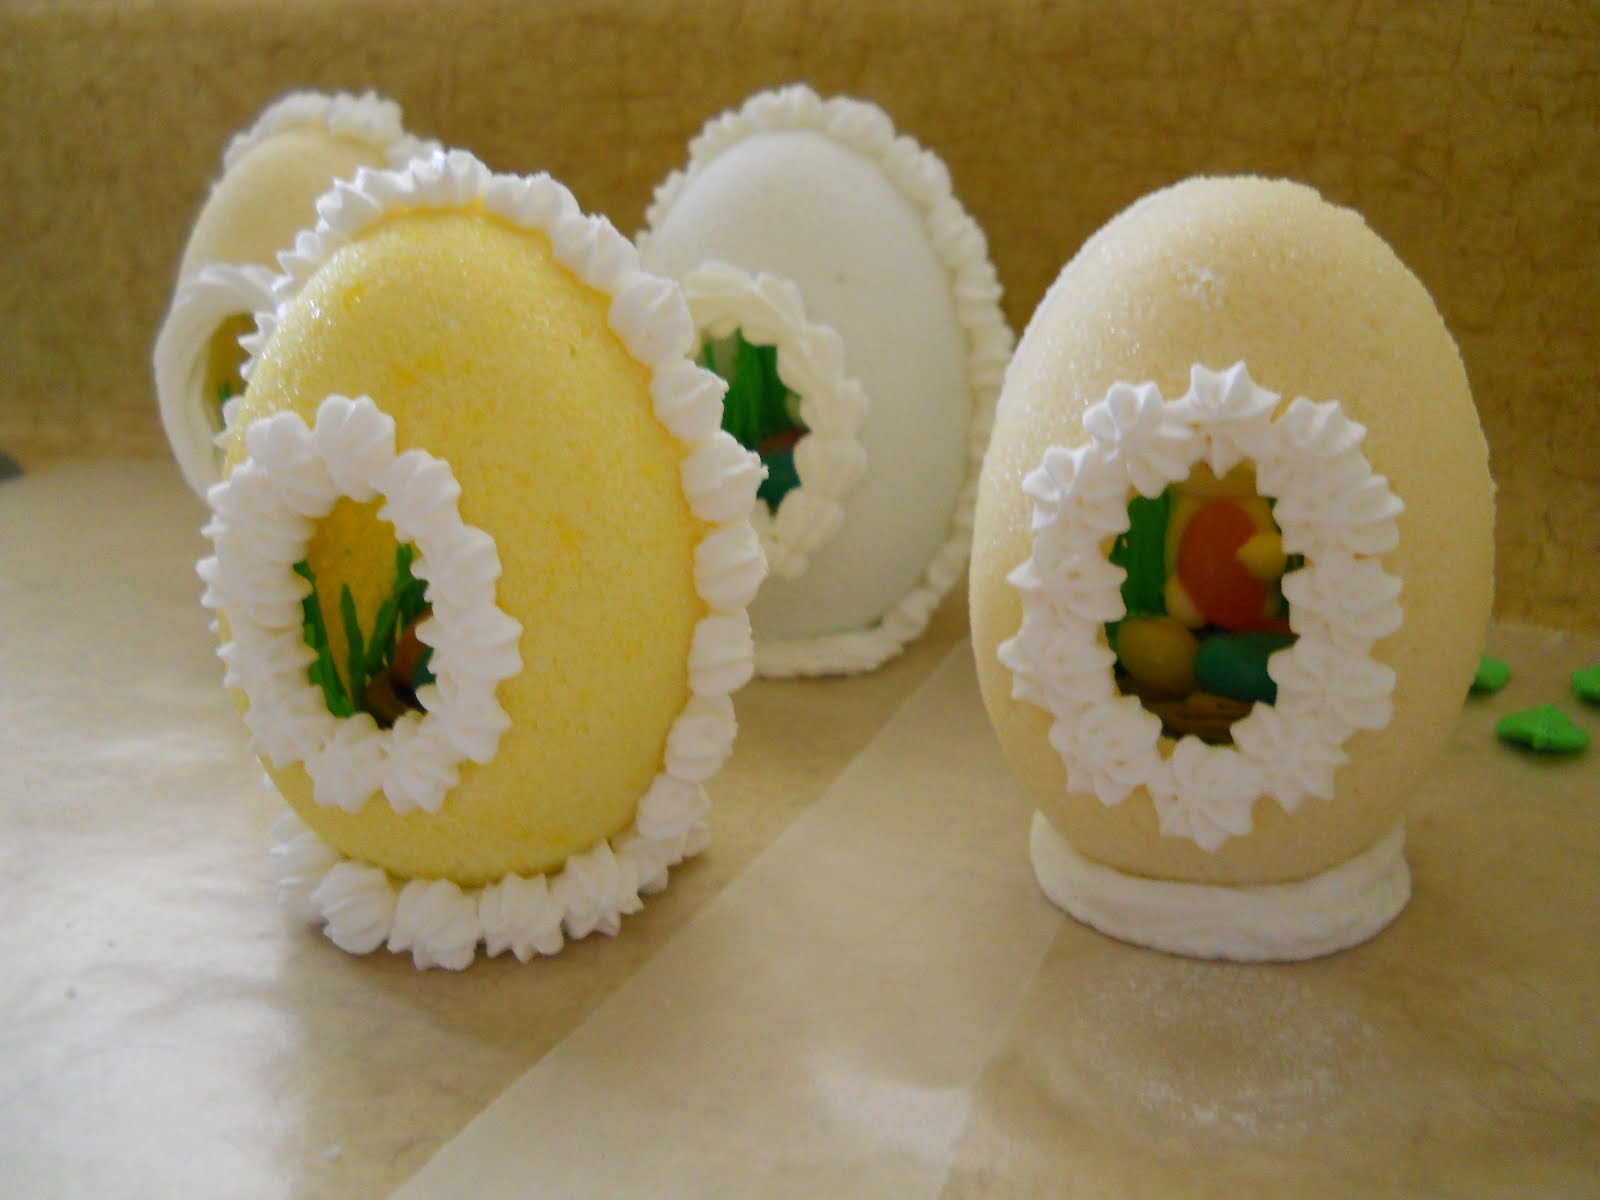
Right about then I was starting to wonder how I’m going to get them to stand up. I ended up putting a blob of icing on the base and then going back and covering it with the border design. All done!